20. Deploy with Heroku
September 2015 · 2 minute read
This is a tutorial for deploying a rails app that has already been created and pushed to github as the origin master.
Ref* https://devcenter.heroku.com/articles/getting-started-with-ruby#set-up
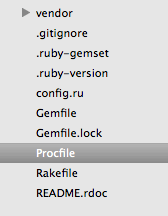
1. Be sure to specify which ruby version you are using in your Gemfile. You’ll probably be able to find this in app/my-budget/.ruby-version or by running
$ ruby -v

2. Create a procfile in your ruby app with a capital P under app/my-budget/Procfile

3. Type the following into the file and save - web: bundle exec rails server -p $PORT

4. Commit all latest changes to your origin master repository on github
$ git add . $ git commit -m “gemfile ruby version declared, procfile for heroku deployment” $ git push origin master
5. Follow the instructions to set up an account at https://dashboard.heroku.com
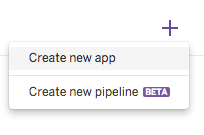
6. Create a new App - Tip: Name it the same name as your github and local app dirs

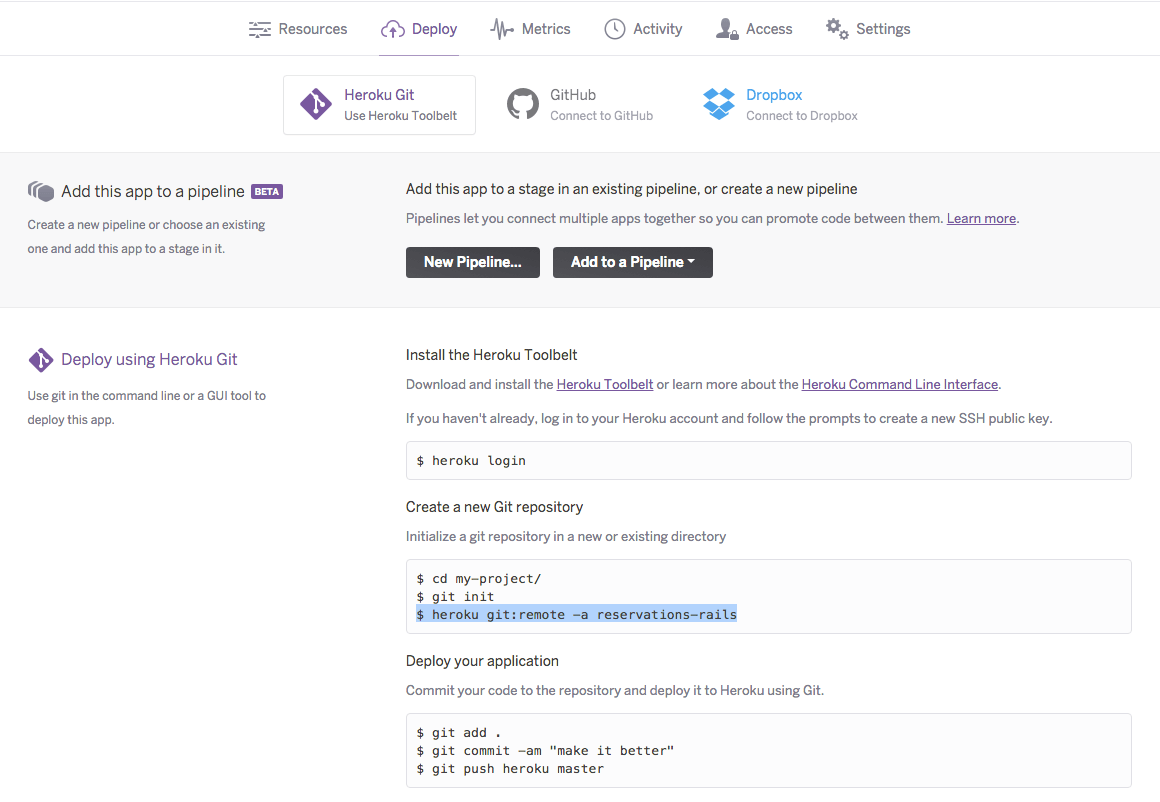
7. You’ll be directed to a new page where you can complete your deployment

8. Cd into your app dir in the terminal and Login in using and verify your credentials
$ heroku login
9. Create a branch from your github master repository
$ heroku git:remote -a reservations-rails
10. Push your app to your heroku branch
$ git push heroku
11. You’ll need to migrate your database to the heroku server
$ heroku run bundle exec rake db:create db:migrate
12. You can open your new app from the command line by running
$ heroku open
13. You can see your own working prototype any time you like at the URL specified in your Heroku account/settings
This is the first app I have ever built, I ran a rails server for the first time on 13-July-2015, I have 6 weeks prior exposure to a custom framework for node.js, I started building a budgeting app on 1-September-2015, now you can check out https://my-budget-selena.herokuapp.com/ to take a walk through My_Budget prototype v1.0 – Deployed 21-September-2015 at 19:59:04. You can also check out the source code as I continue to build at https://github.com/SelenaSmall/my-budget