Get started with jQuery – Part 1
November 2016 · 4 minute read
Get started with jQuery and learn how to add basic animations to your web applications. jQuery is a small, fast Javascript library which can be used for HTML document manipulation, event handling, animation, and Ajax requests. It&’s basically a shorthand version of Javascript which many purists are against but a majority of noobs are encouraged to learn first due to it&’s simplicity.
You can download jQuery or simply reference it in your application http://jquery.com/download/ - either way, the api documentation will come in handy to see what functions are available within the library and how they can be implemented http://api.jquery.com
This tutorial was written using Mac OS and Sublime Text 3 as the text editor. It assumes you have configured your local server to read project directories in either /Sites or another location on your machine and that you have a sound understanding on html and css concepts.
A repo for the full code of this example is available at https://github.com/SelenaSmall/query-todo
1. Create a project root folder, the the purpose of this exercise I will name this folder “javascript”
2. Create 3 files in your project root:
- index.html
- script.js
- style.css
3. If you want to store your project on github or another git service (which is recommended to keep track of your projects), set that up now. You can follow the instructions below or go to https://help.github.com/articles/adding-an-existing-project-to-github-using-the-command-line/
In your git account, create a new remote repository for your project and use the command line to initialise your local repository before pushing it up.
$ cd Sites/javascript/
$ git init
$ git status
$ git add .
$ git commit -m ‘initial commit&’
$ git remote add origin (repository origin)
$ git remote -v
$ git push -u origin master
4. Inside the index.html set up your structure with links to the other files
<!DOCTYPE html>
<html>
   <head>
     <title>Learning jQuery</title>
     <link rel='stylesheet' type='text/css' href='style.css'/>
     <script src="https://ajax.googleapis.com/ajax/libs/jquery/2.2.4/jquery.min.js"></script>
     <script type='text/javascript' src='script.js'></script>
   </head>
   <body>
     <h1>Learning jQuery</h1>
   </body>
</html>
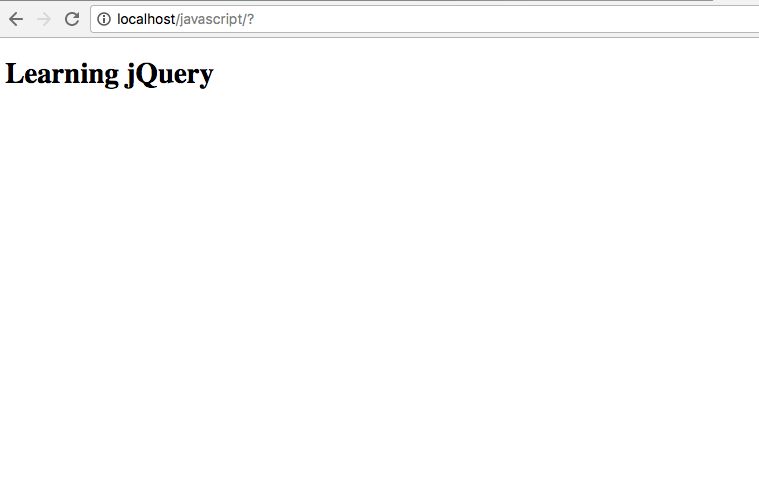
5. You can test this out by opening a web browser and navigating to your localhost, in this case http://localhost/javascript/ - On the screen you should see the heading output that was specified in the index.html file “Learning jQuery”

6. In the style.css you can add styling to your elements as usual, lets change the styling on the ‘h2’ tag and make it red
h2 {
  color: red;
}
7. In the script.js you can now get your document ready to perform some jQuery tasks by declaring the document.ready function:
$(document).ready(function() {

});
8. Create a simple layout for the structure of your #todo list using html and css, here is a very simplified example with little styling. In the index.html between the ‘body’ tags create a structure with clear targets
<body>
  <div class="task-list">
    <h3>New Task</h3>
    <form id="todo-form">
      <input type="text" placeholder="Title" />
      <textarea placeholder="Descrtipion"></textarea>
      <input type="text" placeholder="Created (dd/mm/yyyy)" />
      <input type="text" placeholder="Due (dd/mm/yyyy)" />
      <button class="task-create">Create Task</button>
    </form>
  </div>
  <div class="task-list" id="pending">
    <h3>Active</h3>
    <!-- Sample task added manually to check look -->
    <div class="todo-task">
      <div class="task-header">Sample Header</div>
      <div class="task-date">25/06/1992</div>
      <div class="task-description">Lorem Ipsum Dolor Sit Amet</div>
      <button class="task-complete">Complete</button>
      <button class="task-delete">Delete</button>
    </div>
  </div>
  <div class="task-list" id="completed">
    <h3>Complete</h3>
  </div>
</body>
9. And in the style.css at the very least set some styling to make your structure easy to see:
.task-list {
  padding: 10px;
  width: 25%;
  margin: 10px;
  background-color: lightgrey;
  min-height: 240px;
}

.task-list input, .task-list textarea {
  width: 100%;
}

.task-list input {
  height: 30px;
}

.todo-task {
  background-color: #fff;
  width: 100%;
}

.task-list input[type='button'] {
  width: 100px;
}
10. Now we’re ready to start with some jQuery magic. In a #todo list, there are essentially 3 simply tasks that need to occur which are Create, Complete and Delete. We’ll begin with the delete task, since we have a hard coded sample task and this will be the easiest task to complete.
In the script.js we can add to the document ready a simple delete task which will remove the sample task from view - Becasue that task is hard coded, it will re-appear when the page is reloaded but we will at least have the basis of this functionality.
// Delete task
$('button.task-delete').click(function() {
  $(this).parent().fadeOut('fast');
});
Continue on with part 2 here:
http://www.selenasmall.com/get-started-with-jquery-part-2/